Trial Period
Understand and manage your Kuviq free trial.
Overview
The Kuviq free trial lets you:
- Experience all features before committing
- Test with real data and workflows
- Evaluate fit for your organization
- Make an informed decision
Trial Details
Duration
- Standard trial: 14 days (duration may vary based on the plan being evaluated)
- Extended trial: Available upon request (up to 30 days)
Feature Access
During trial, you have access to Starter-plan features with configurable overrides:
| Feature | Access Level |
|---|---|
| Items | Up to trial limit |
| Locations | Up to trial limit |
| Templates | Up to trial limit |
| Inspections | Up to trial limit |
| QR Codes | Full |
| Reports | Starter level (admins can enable Professional features) |
| Corrective Actions | Full |
| API | Starter level |
Admins can configure which Professional-level features are available during trials from Admin > Trial Management > Settings.
Trial Limits
| Resource | Trial Limit |
|---|---|
| Locations | 1 |
| Items | 150 |
| Templates | 20 |
| Inspections | 500 |
No Credit Card Required
- Start trial without payment info
- Credit card only needed to subscribe
- No automatic charges
Starting Your Trial
New Organization
- Sign up at app.kuviq.io
- Create your organization
- Verify your email
- Trial starts automatically
What Happens
Upon starting:
- Trial period begins (default 14 days)
- Starter-plan features enabled (with optional overrides)
- Industry-specific data auto-provisioned (item types, locations, templates, sample items)
- In-app onboarding checklist appears on the dashboard with 6 guided setup steps
Onboarding Checklist
The OnboardingChecklist is an in-app guided experience on the dashboard that helps you get started quickly:
- Tracks your progress through 6 key setup actions tied to live usage counters
- Shows a progress bar (N/6 complete) with trial days remaining
- Uses industry-aware labels (e.g., "Add your first piece of equipment" for climbing gyms)
- Items are clickable and navigate to the relevant creation page
- Dismissible — state is persisted to Firestore for the whole organization
Checklist items:
- Create your first item — complete when items > 0
- Add a location — complete when locations > 0
- Create an inspection template — complete when templates > 0
- Run your first inspection — complete when inspections > 0
- Set up an inspection schedule — complete when schedules > 0
- Invite a team member — complete when users > 1
When all 6 items are complete, a celebration state appears with an "Upgrade Now" call-to-action for trial organizations.
Trial Onboarding Emails
During your trial, you will receive a sequence of 4 automated onboarding emails:
| Day | Content | |
|---|---|---|
| Day 1 | Welcome | Getting started tips, key features overview |
| Day 3 | Progress check | Activity-based personalization, next steps |
| Day 7 | Feature highlight | Advanced features you haven't tried yet |
| Day 10 | Conversion | Subscription options, data retention reminder |
These emails are:
- Available in English, Finnish, and Swedish based on your language preference
- Personalized based on your actual trial activity
- Controllable via admin toggles in organization settings
During Your Trial
Trial Status
View your trial status:
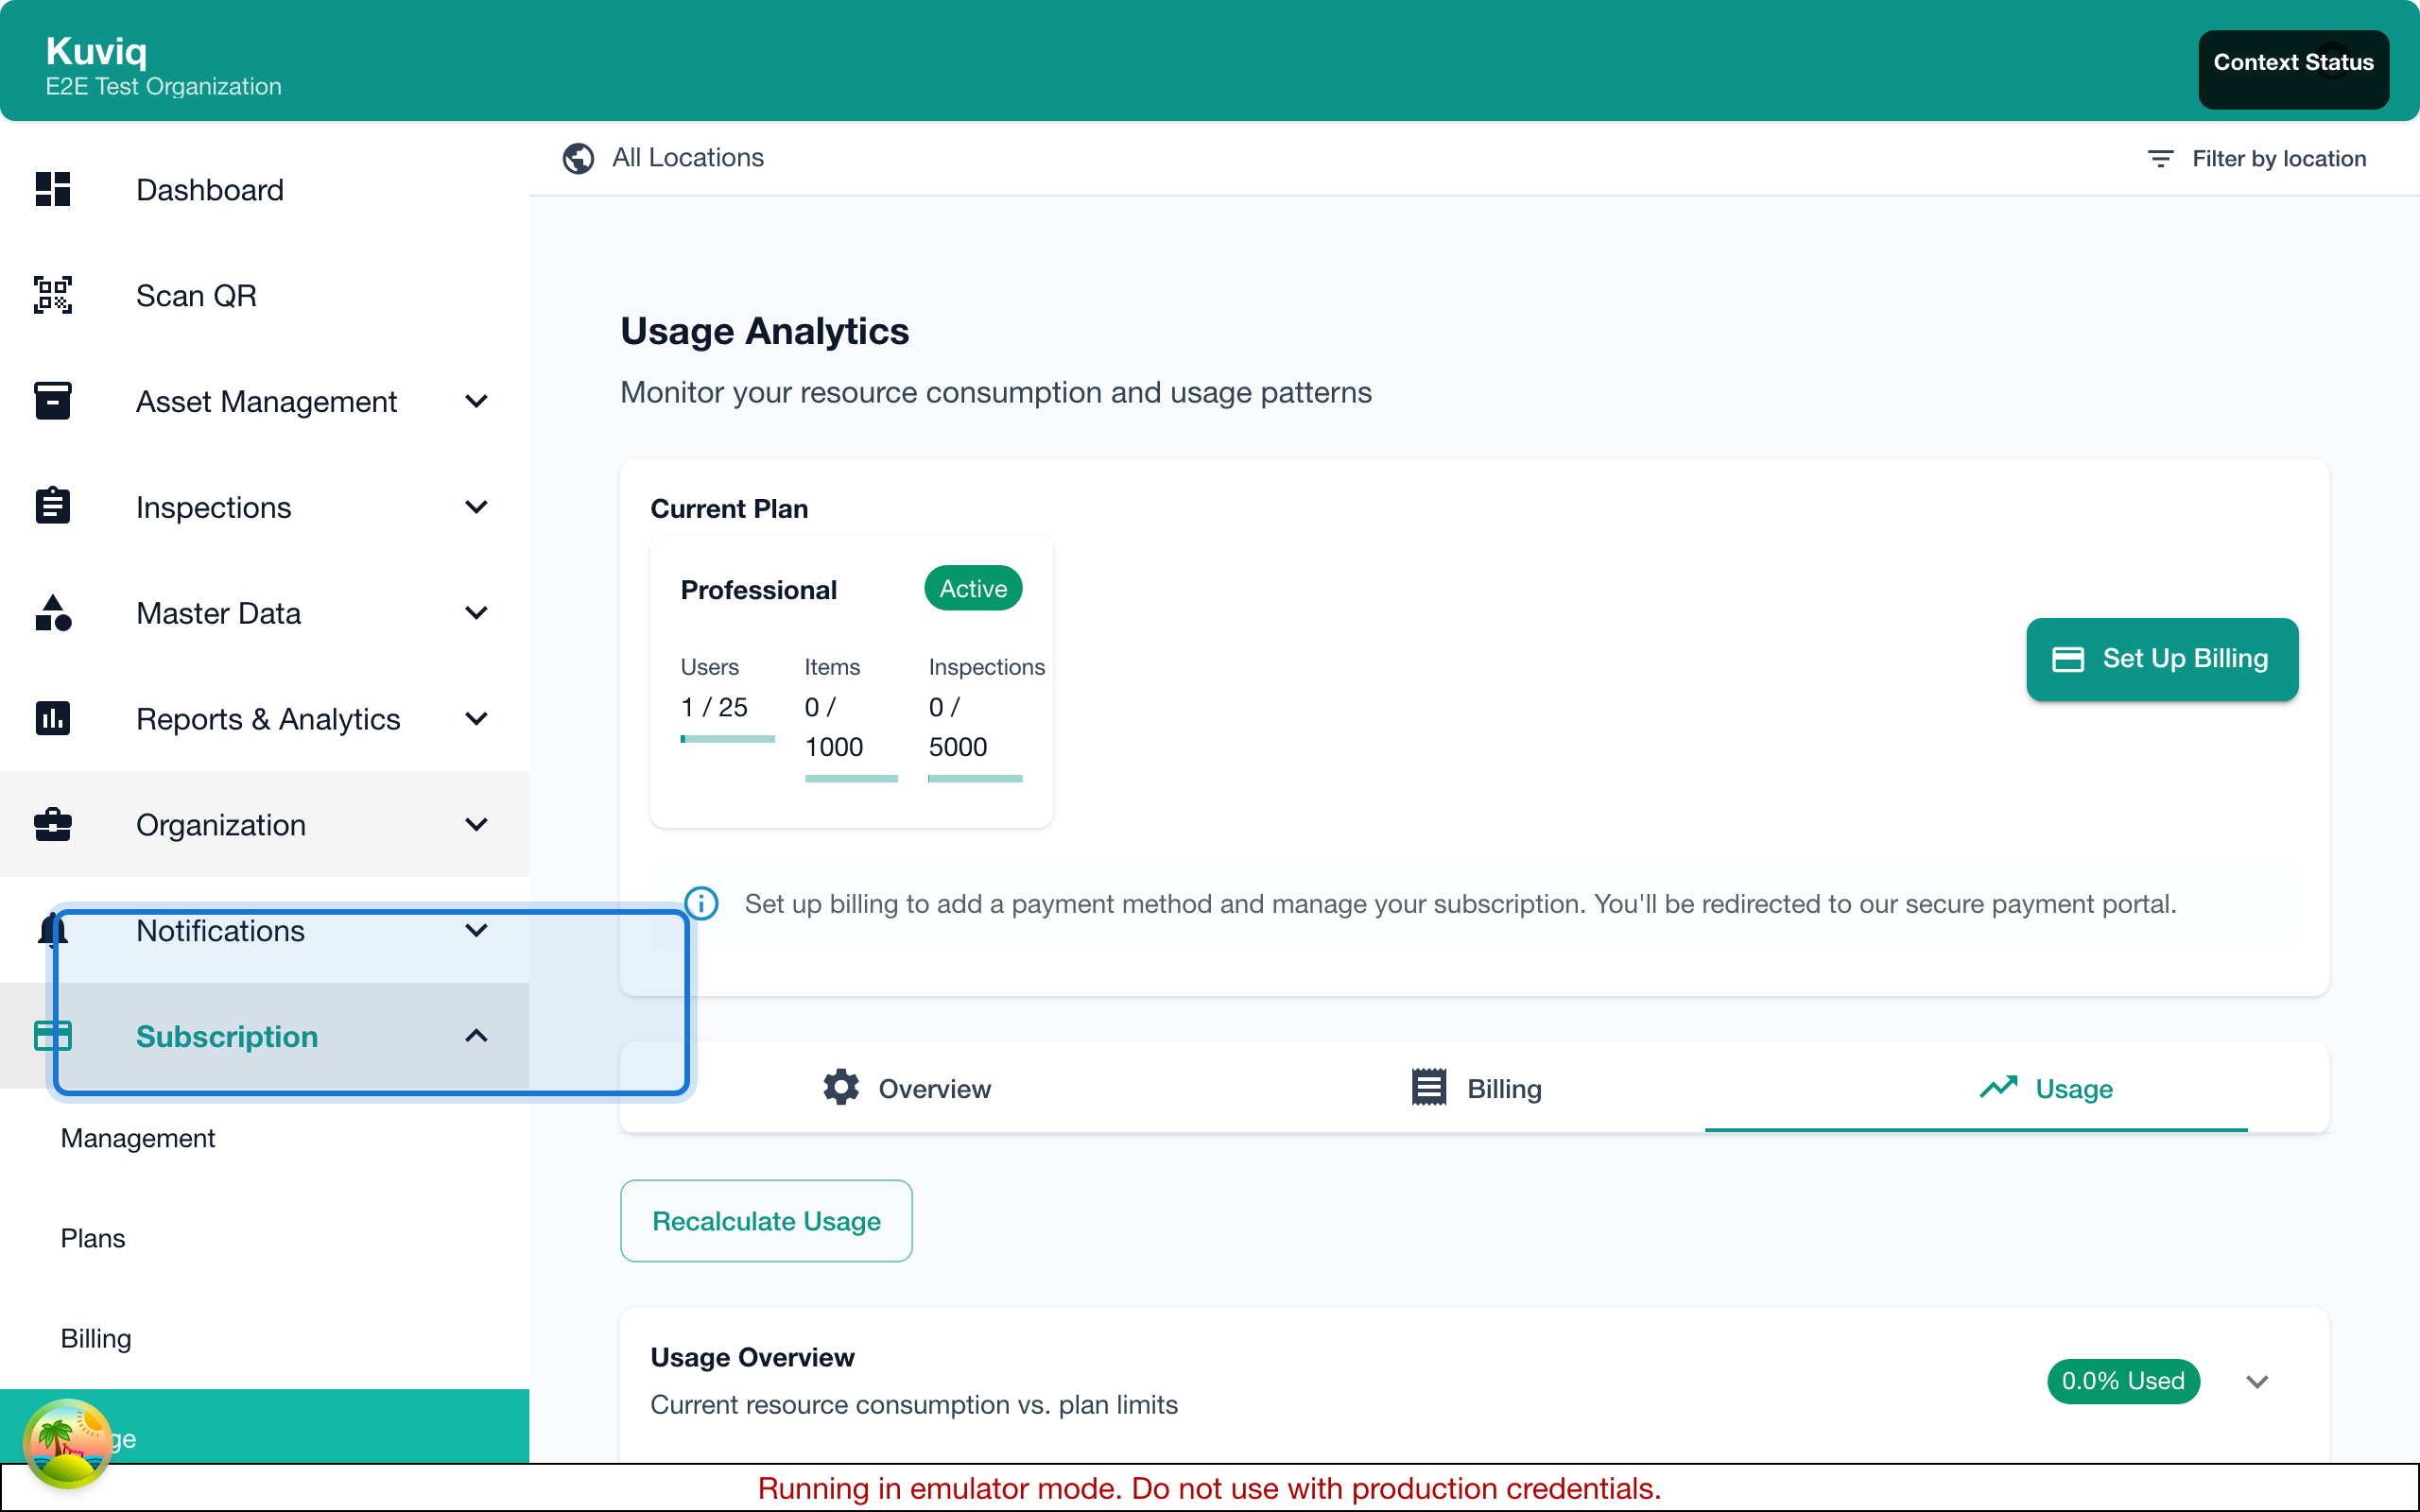
- Go to Admin > Subscription
- See:
- Days remaining
- Trial end date
- Current usage
Trial Banner
A banner appears showing:
- Days left in trial
- Quick link to subscribe
- Dismiss option
Getting the Most from Your Trial
Use the in-app onboarding checklist to track your progress through the getting-started steps. The checklist guides you through setup and evaluation in a natural order.
Week 1: Setup
- Complete the onboarding checklist items
- Add your locations
- Create item types
- Set up inspection templates
- Invite team members
Week 2: Evaluate
- Add real items
- Perform inspections
- Test QR code scanning
- Generate reports
- Review with your team
Trial Support
During your trial:
- Full email support
- Documentation access
- Onboarding assistance
- Demo scheduling available
Extending Your Trial
When to Request Extension
Request an extension if:
- Need more time to evaluate
- Key stakeholders unavailable
- Implementation taking longer
- More testing required
How to Request
- Go to Admin > Subscription
- Click Request Extension
- Provide reason
- Submit request
Or email: support@kuviq.io
Extension Details
- Maximum 2 extensions per organization
- Usually approved within 1 business day
- Features remain the same during extension
Auto-Extension
Kuviq supports automatic trial extensions for organizations that are actively using the platform. When enabled by an admin, the system evaluates organizations nearing expiration and auto-approves extensions based on activity.
How it works:
- The system runs daily checks on trial organizations
- If an organization has 1 day remaining and meets activity thresholds, it is proactively extended — no user request needed
- If an organization has a pending extension request and meets thresholds, it is auto-approved
Default activity thresholds:
| Threshold | Default |
|---|---|
| Minimum items created | 3 |
| Minimum inspections completed | 1 |
Limits:
| Limit | Default |
|---|---|
| Max total extensions per org | 2 |
| Max auto-approved extensions | 1 |
| Extension duration | 7 days |
Additional extensions beyond the auto-approval limit require manual admin review.
Admin configuration:
Go to Admin > Trial Management > Settings > Auto-Extension to:
- Enable/disable auto-extension
- Adjust activity thresholds
- Set max auto-extensions and extension duration
Trial Expiring
Warning Notifications
You'll receive email reminders at three lifecycle points:
| Days Left | Notification |
|---|---|
| 3 days | Warning email with activity summary and upgrade link |
| 1 day | Final warning email |
| Expired | Expiration notice email |
Each email is:
- Sent to the organization owner
- Available in English, Finnish, and Swedish based on language preference
- Personalized with your trial activity (items, inspections, templates, locations created)
- Deduplicated — each email type is only sent once per organization
Before Expiration
Options before trial ends:
- Subscribe - Choose a paid plan
- Extend - Request more time
- Export - Download your data
What Happens at Expiration
When trial ends:
| Feature | Status |
|---|---|
| App access | Blocked by full-screen TrialExpiredWall modal |
| Data | Preserved and exportable |
| Subscription routes | Still accessible for upgrading |
| Admin routes | Still accessible for system admins |
After Trial Expiration
Access Wall
When your trial expires, a full-screen blocking modal (TrialExpiredWall) appears over all app routes. The modal:
- Cannot be dismissed by clicking outside or pressing Escape
- Shows your trial activity summary (items created, inspections completed, etc.)
- Provides three actions:
- Upgrade Now — navigates to subscription plans
- Request Extension — inline form to request more time (if eligible, i.e., max extensions not reached)
- Export My Data — opens the export dialog so you don't lose your work
The wall appears immediately on login and will also appear mid-session if TrialContext detects expiration during its periodic refresh (every 60 minutes).
Subscription and admin routes (/subscription/*, /admin/*) remain accessible even when the wall is active, so you can complete the upgrade flow.
Immediate Effects
- Full-screen blocking modal on all app routes
- Cannot interact with the underlying application
- Data is preserved and exportable
Data Retention
| Timeframe | What Happens |
|---|---|
| 0-30 days | Data preserved, subscribe to restore |
| 30+ days | Data may be deleted |
Reactivating After Expiration
Within 30 days:
- Visit app.kuviq.io
- Log in (redirected to subscription page)
- Choose a plan
- Enter payment information
- Access restored immediately
If 30+ Days Passed
- Data may be deleted
- Contact support to check status
- May need to start fresh
Converting to Paid
Choosing a Plan
Before trial ends, evaluate:
- How many items? - Which plan fits
- How many users? - User limits
- Features needed? - Plan comparison
- Budget? - Monthly vs annual
Subscribing
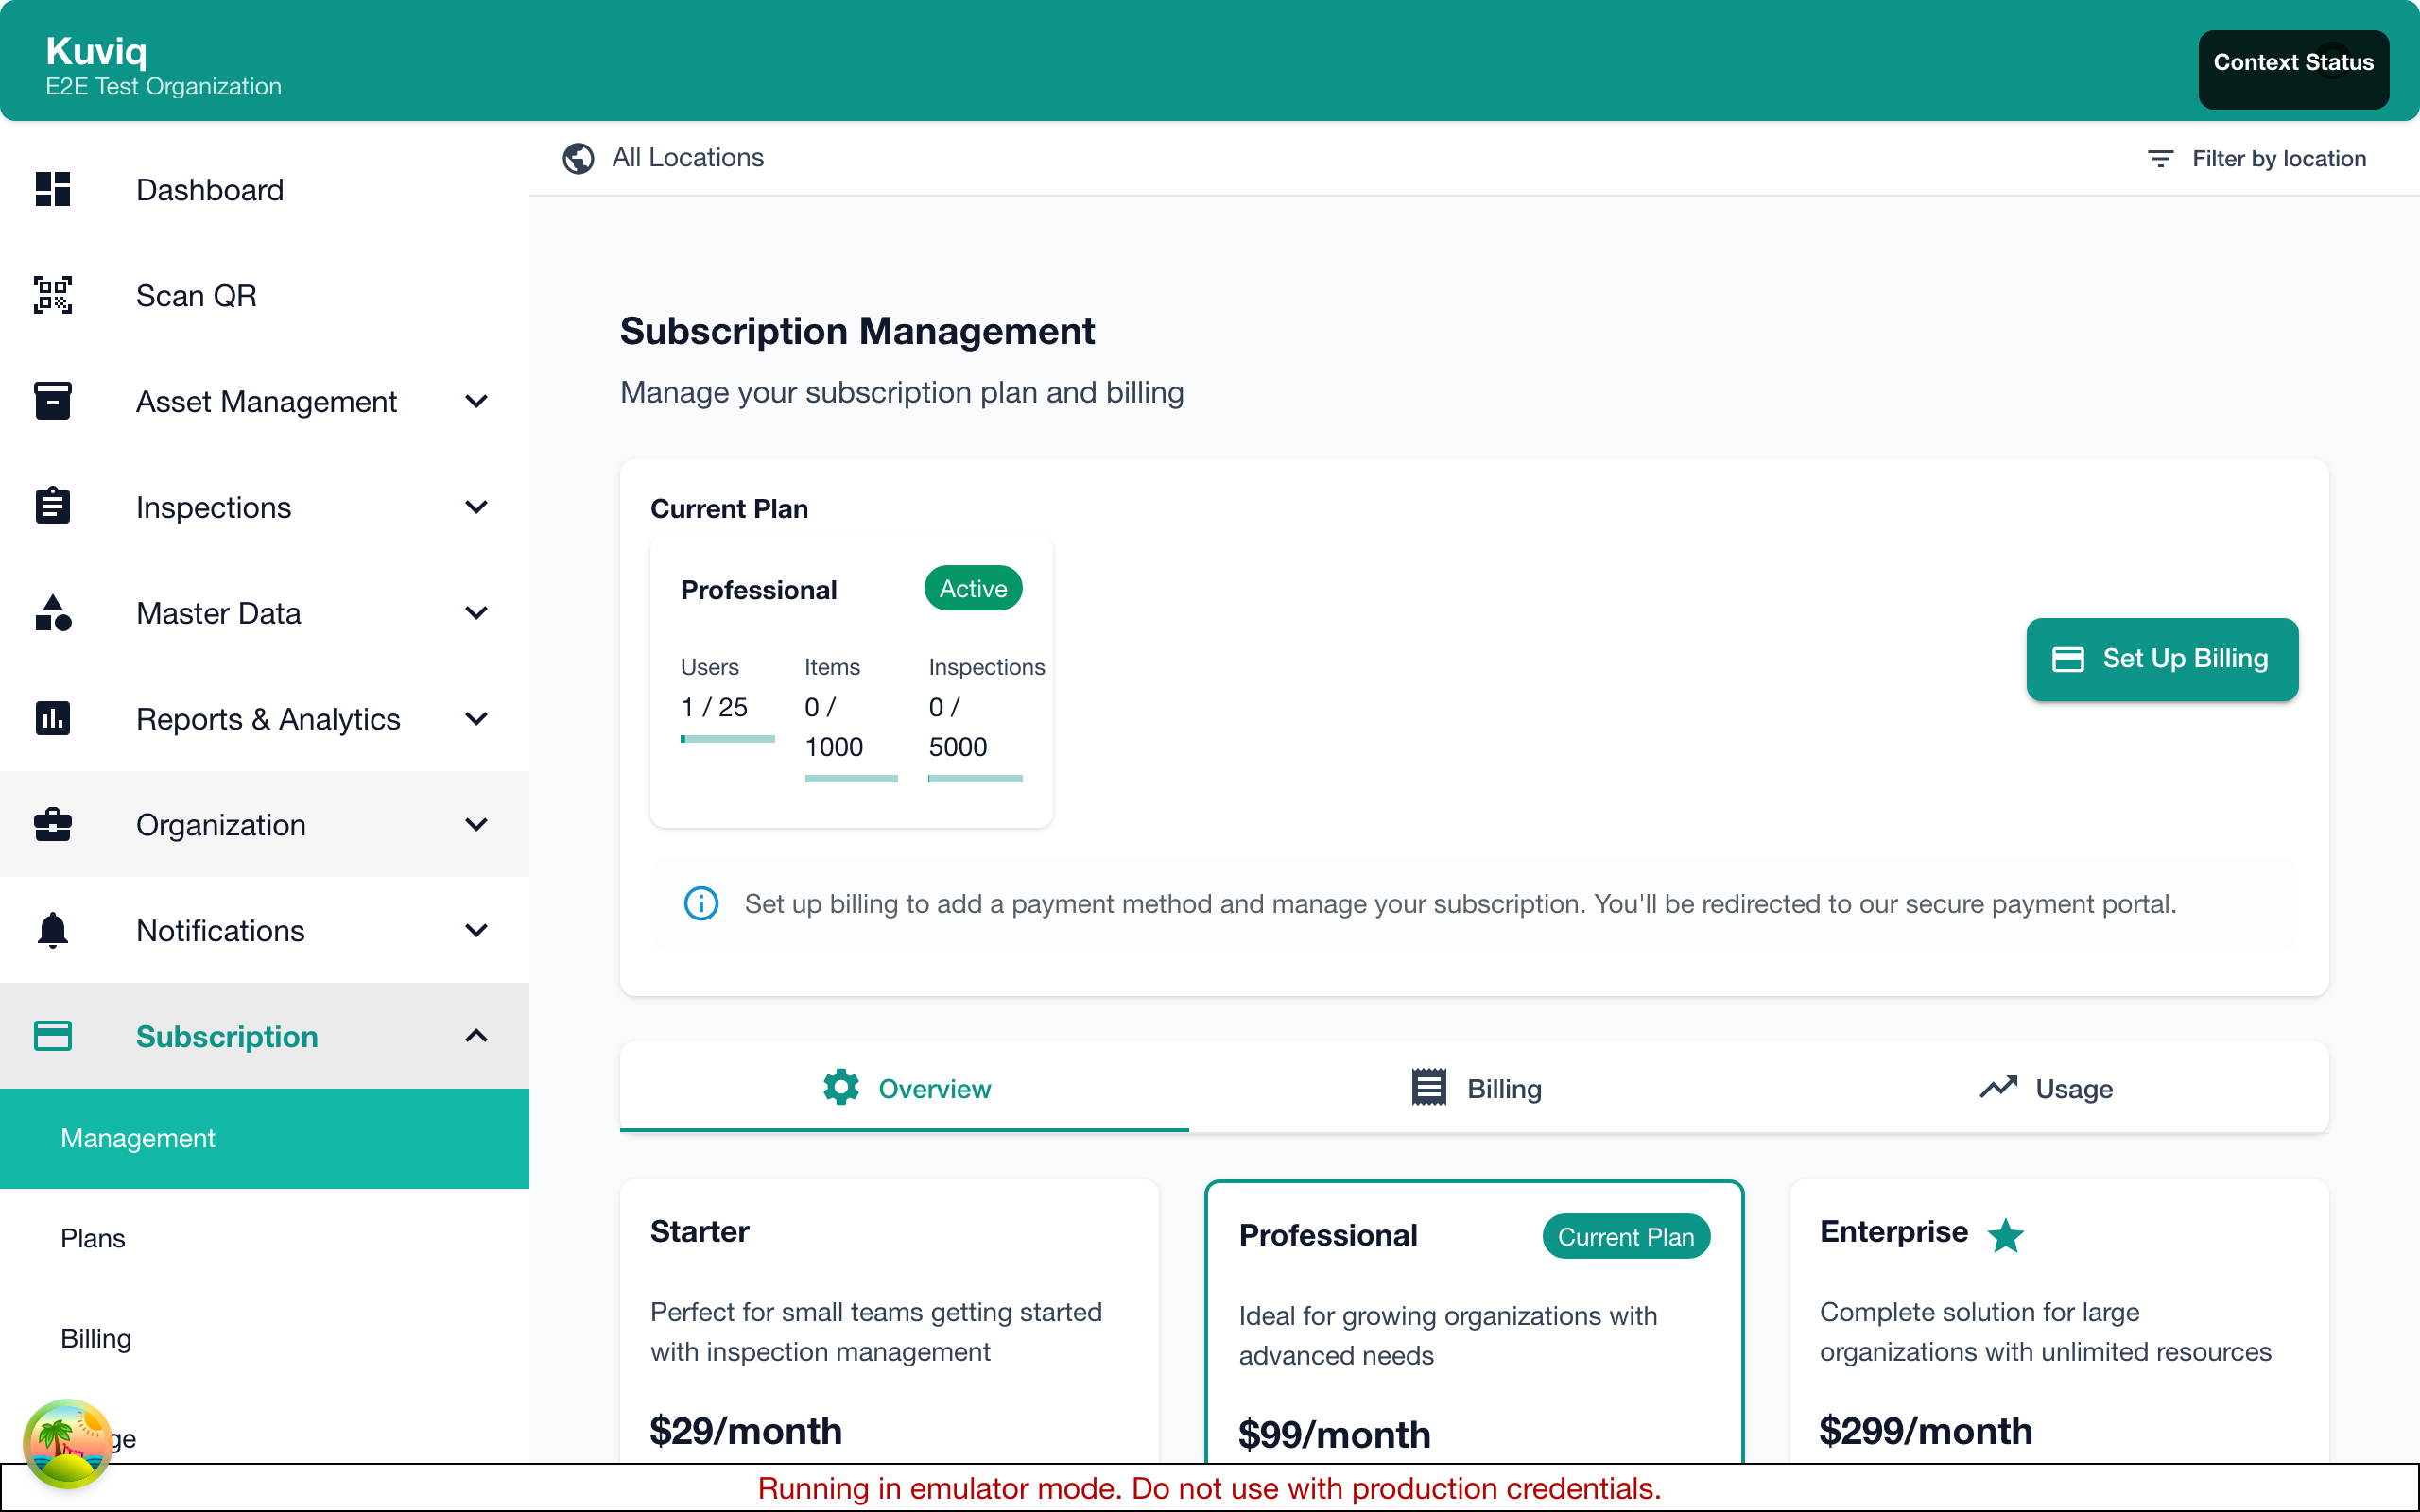
- Go to Admin > Subscription
- Click Subscribe or Choose Plan
- Select your plan
- Enter payment information
- Confirm
Seamless Transition
When you subscribe:
- All data preserved
- No interruption
- Features continue
- Users keep access
Choosing Monthly vs Annual
| Monthly | Annual |
|---|---|
| More flexibility | 10-20% savings |
| Cancel anytime | 12-month commitment |
| Higher per-month cost | Best value |
Trial Data
Demo Data
During onboarding, you can:
- Load sample data to explore
- Skip demo data for clean start
- Delete demo data later
Removing Demo Data
If you loaded demo data:
- Go to Settings > Data
- Click Remove Demo Data
- Confirm
Only removes demo items, not your own data.
Keeping Trial Data
When you subscribe:
- All your data is kept
- Inspections preserved
- History maintained
- Nothing lost
Frequently Asked Questions
Can I extend my trial?
Yes, request an extension up to 30 days total. Contact support.
What happens to my data if I don't subscribe?
Data is preserved for 30 days after expiration. Subscribe within 30 days to restore access.
Can I downgrade features during trial?
Trial gives Professional-level access. When subscribing, choose any plan.
Is my data secure during trial?
Yes, same security as paid accounts. See our security documentation.
Can I start multiple trials?
One trial per organization. Contact us for special circumstances.
Can I upgrade during trial?
You can subscribe to any plan at any time during trial.
Will I be charged automatically?
No. Credit card is only required when you choose to subscribe. No automatic charges.
Best Practices
Maximizing Your Trial
- Set goals - Know what you want to evaluate
- Use real data - Test with actual items
- Involve team - Get feedback from users
- Test workflows - Run through full inspection cycles
- Ask questions - Use support resources
Making the Decision
Consider:
- Does it meet your needs?
- Is the team comfortable using it?
- Does it fit your budget?
- Is support responsive?
Common Mistakes
Avoid:
- Waiting until last day to evaluate
- Not testing with real scenarios
- Not involving key stakeholders
- Ignoring trial warnings
Contact During Trial
Support
- Email: support@kuviq.io
- Response: Within 1 business day
Sales Questions
For pricing, enterprise, or custom needs:
- Email: sales@kuviq.io
- Schedule a demo
Feedback
We welcome trial feedback:
- Email: feedback@kuviq.io
- Help us improve
Next Steps
- Plans - Compare subscription options
- Billing - Payment information
- Getting Started - Setup guide