Performing Inspections
Learn how to conduct equipment inspections using Kuviq.
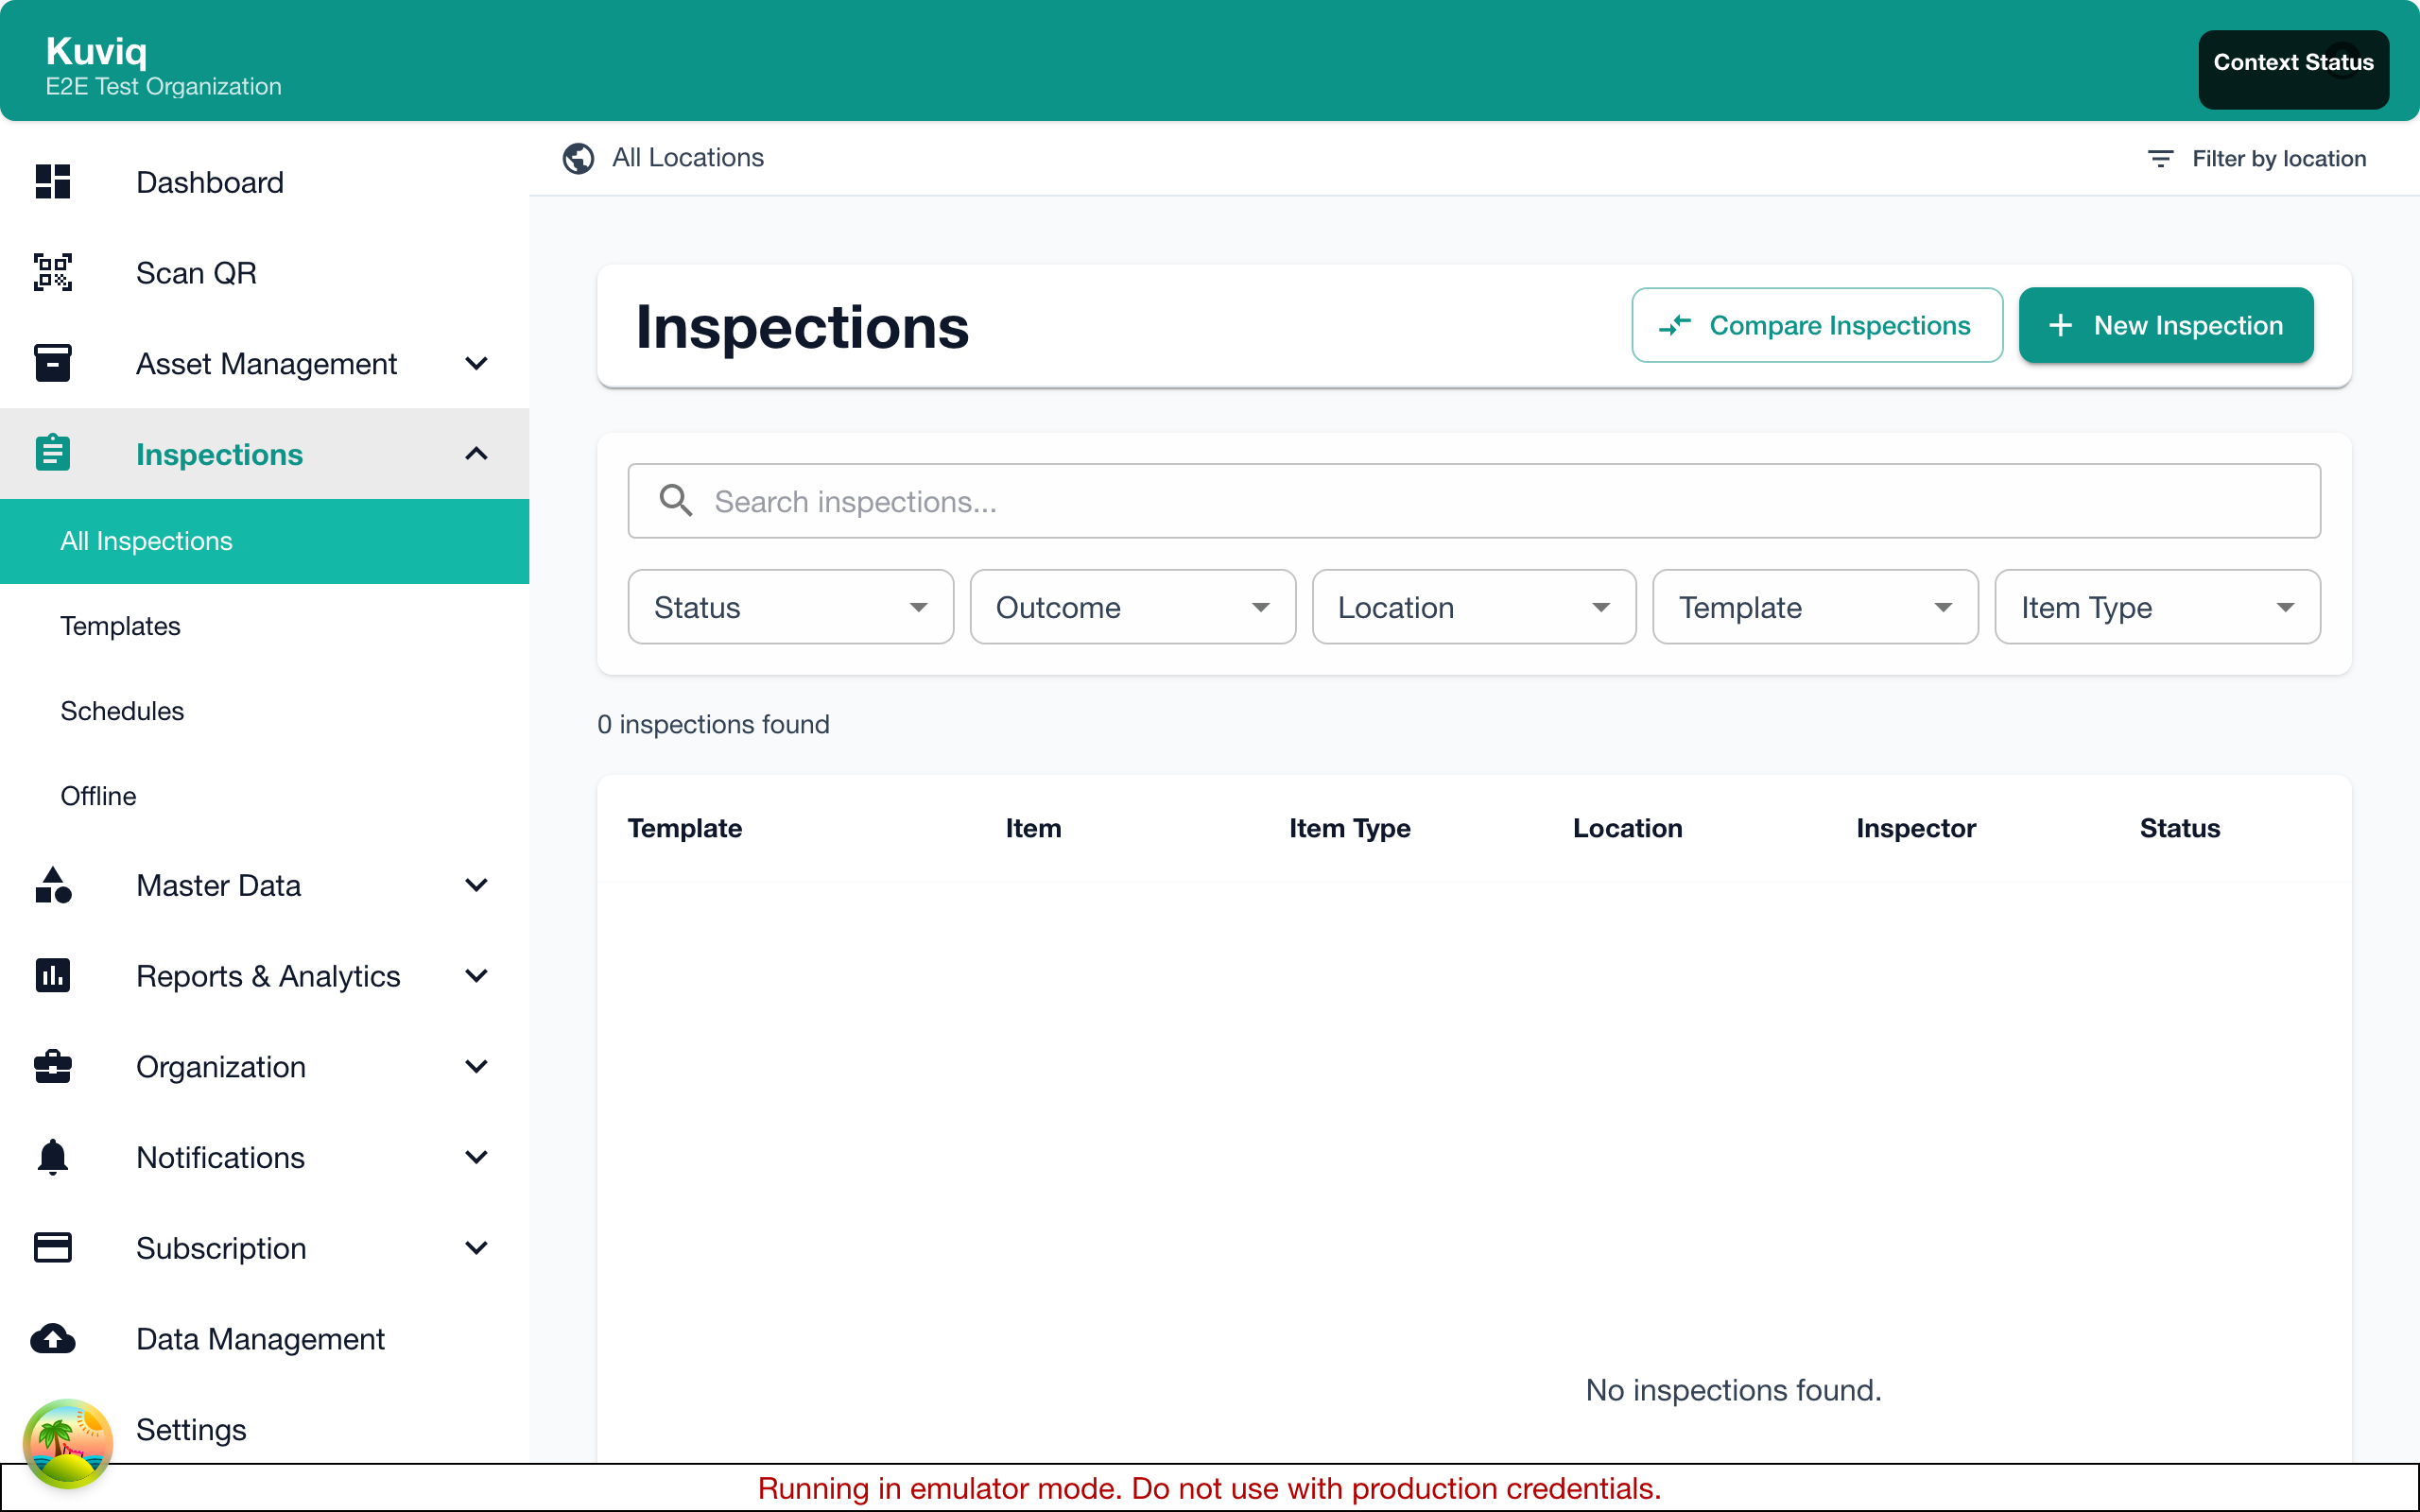
Starting an Inspection
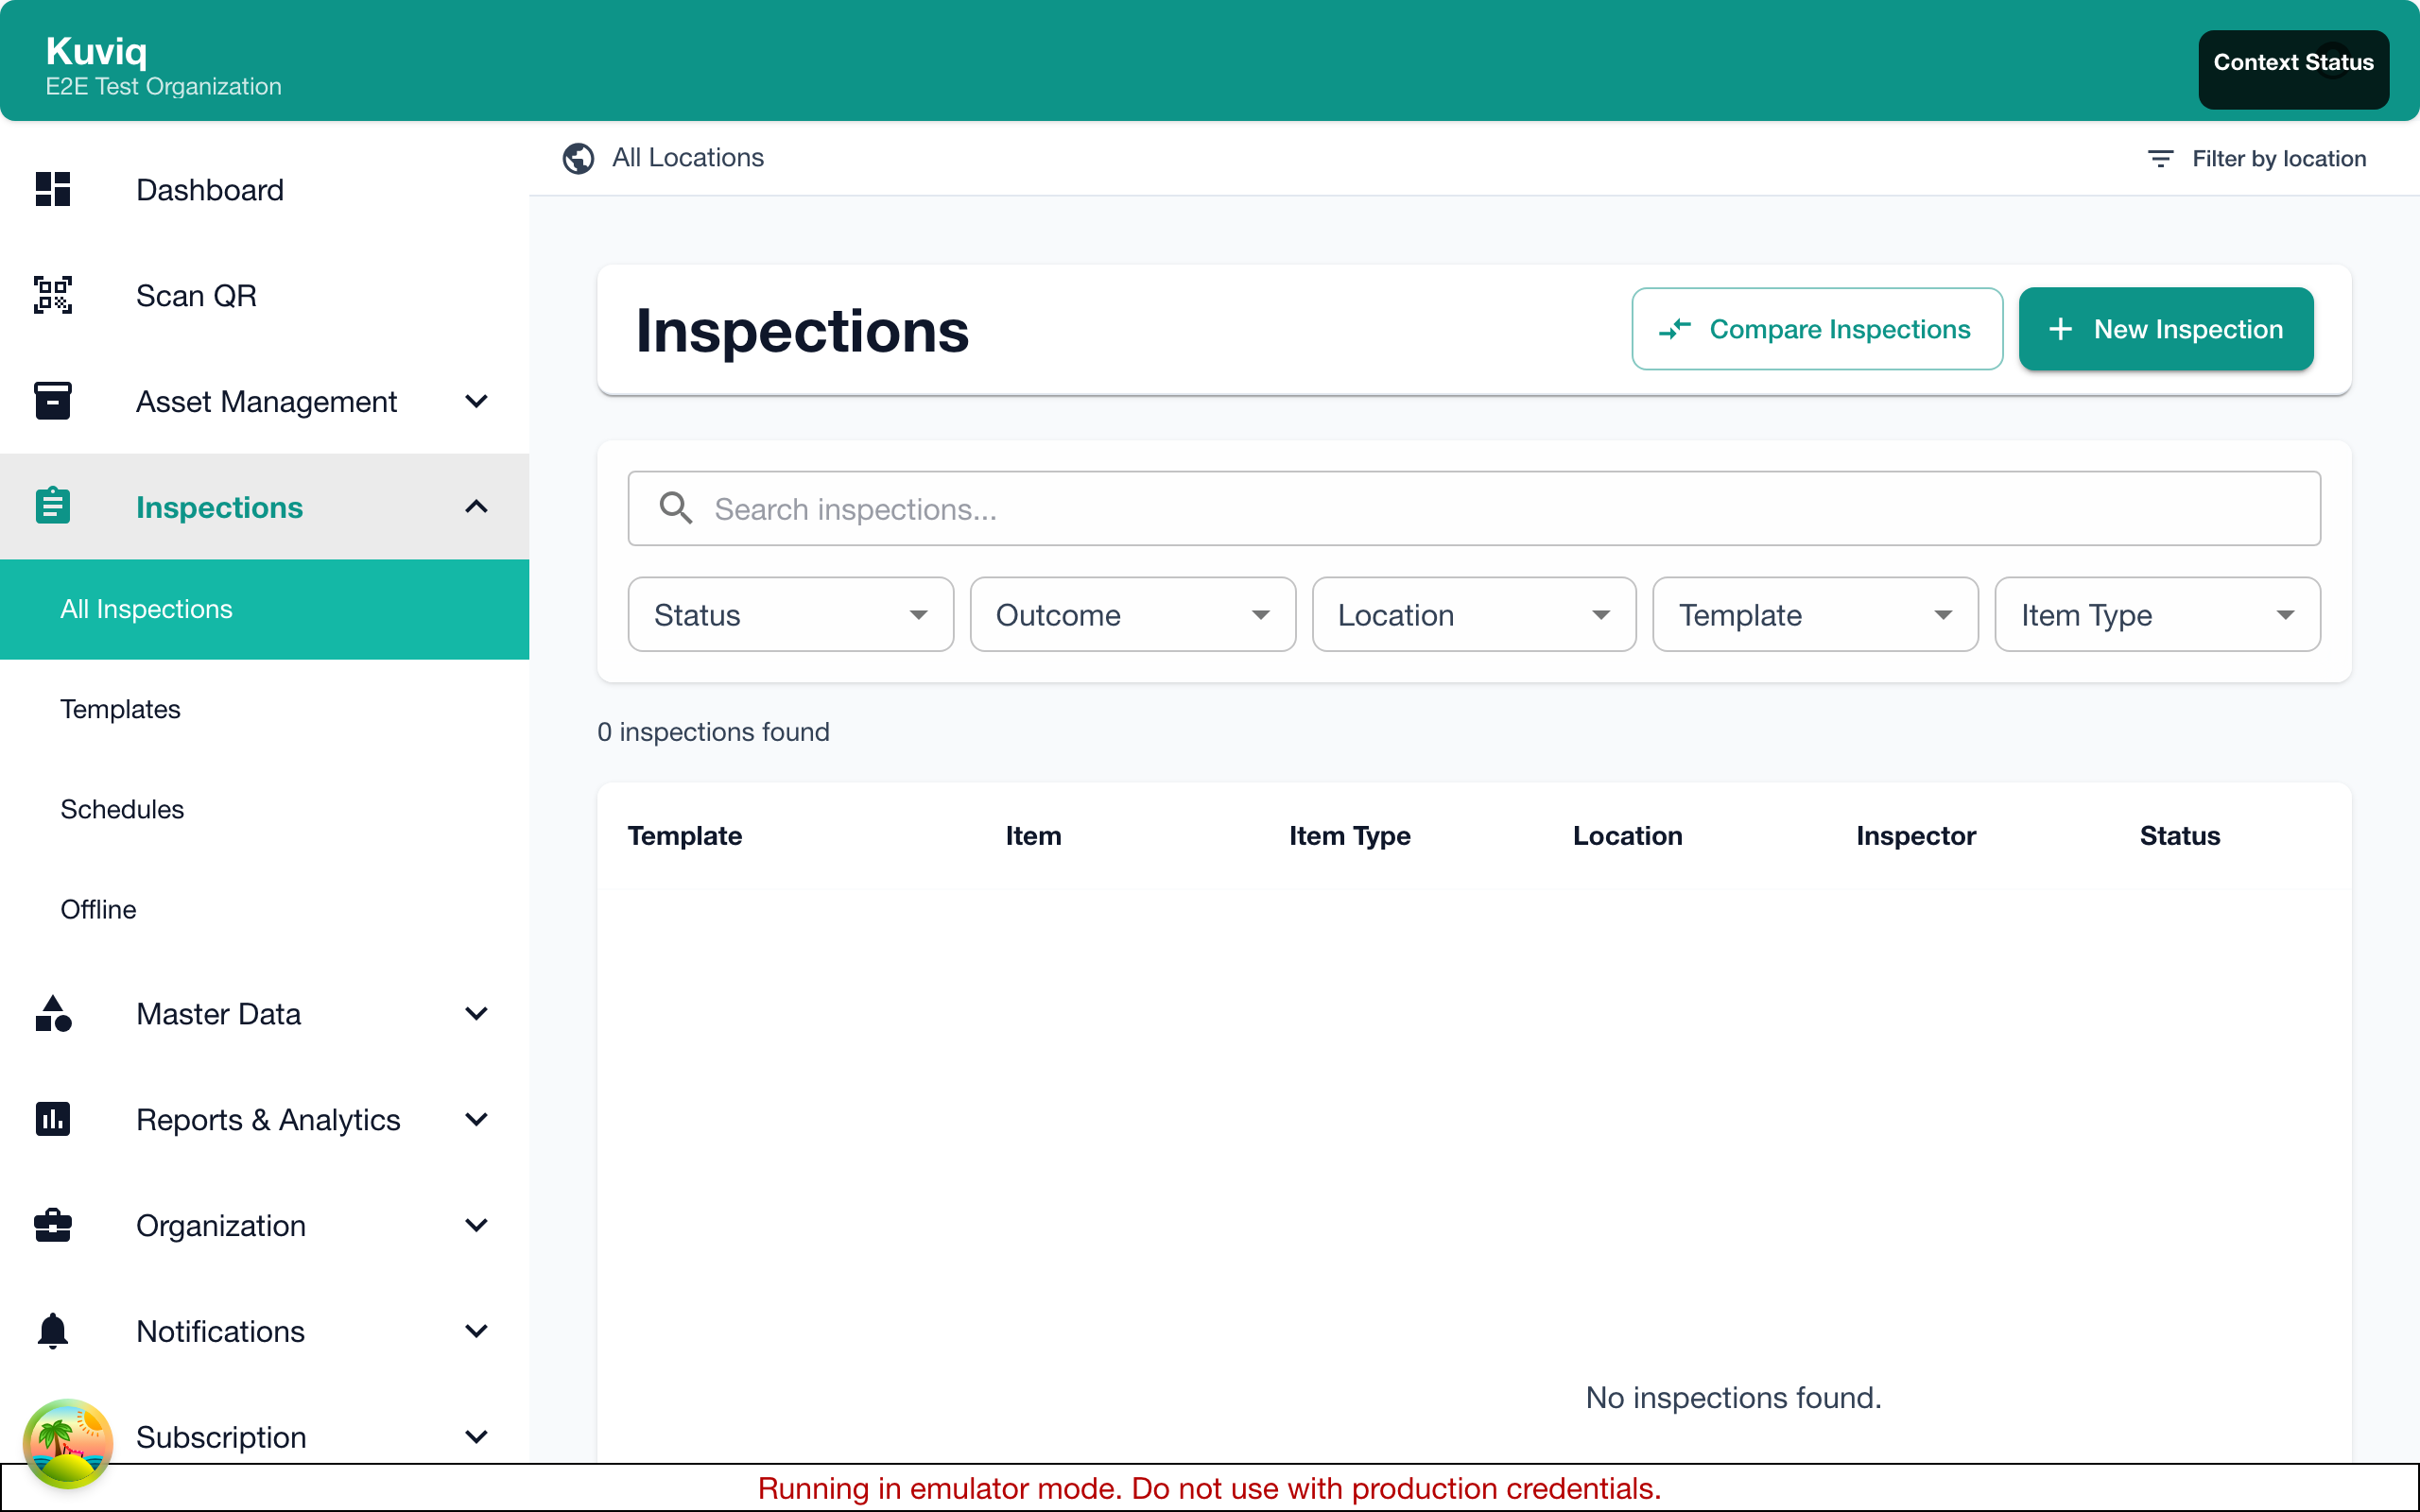
There are several ways to start an inspection:
From the Items List
- Navigate to Items
- Find the item to inspect
- Click the Inspect button (📋 icon)
From Item Details
- Open the item's details page
- Click Start Inspection or Inspect
By Scanning a QR Code
- Click Scan QR in the navigation
- Allow camera access when prompted
- Scan the item's QR code
- Select Inspect from the options
From the Dashboard
- View actionable inspections on the dashboard
- Click on an inspection due or overdue
- Start the inspection directly
Inspection View Modes
Kuviq offers two view modes for completing inspections. The mode can be toggled during an inspection using the view mode buttons in the header.
Full-Form Mode (Desktop Default)
On desktop, inspections open in full-form mode by default — all inspection elements are displayed on a single scrollable page.
Layout:
- Item details panel at the top (collapsible) showing name, serial, manufacturer, type, and location
- Quick-nav sidebar on the left listing all elements with completion status icons
- All elements displayed in the main content area, each in its own card
Quick Navigation Sidebar:
- Shows a numbered list of all inspection elements
- Status icons indicate completion: pending (dot), passed (green checkmark), failed (red X)
- Click any element to scroll directly to it
- Elements with validation errors are highlighted in red
Submitting:
- Click Submit at the bottom to validate all elements at once
- If any required elements are incomplete, they are highlighted and the view scrolls to the first one
Step-by-Step Mode (Mobile Default)
On mobile, inspections always use step-by-step mode — one element is displayed at a time with Previous/Next navigation.
On desktop, you can switch to step-by-step mode using the toggle in the header.
View Mode Preference
Your preferred view mode is remembered between sessions. The toggle in the inspection header lets you switch at any time:
- List icon — step-by-step mode
- Stream icon — full-form mode
On mobile devices, full-form mode is not available. Inspections always use the step-by-step layout for the best mobile experience.
Understanding the Inspection Form
Form Structure
The inspection form contains:
- Header - Item name, template name, progress indicator, view mode toggle
- Elements - Questions and fields to complete
- Actions - Save, pause, submit buttons
Progress Indicator
Shows your progress through the inspection:
- Completed elements
- Remaining elements
- Required vs optional items
Completing Inspection Elements
Element Types
| Type | How to Complete |
|---|---|
| Checkbox | Check for pass, leave unchecked for fail |
| Yes/No | Select Yes or No |
| Text | Enter short text response |
| Text Area | Enter longer description |
| Number | Enter numeric value |
| Dropdown | Select from options |
| Photo | Take or upload a photo |
| Signature | Sign with finger/stylus |
| Date | Select a date |
Required Fields
Fields marked with ***** are required:
- Must be completed before submitting
- Indicated by red asterisk or outline
- Cannot skip required fields
Pass/Fail Elements
Some elements have pass conditions:
- Green check - Response passes
- Red X - Response fails
- System evaluates automatically based on template rules
Conditional Elements
Some elements only appear based on previous answers:
- Answer a question to reveal follow-up questions
- Helps streamline the inspection process
Adding Photos
Taking Photos
- Click the Camera icon on a photo element
- Allow camera access (first time)
- Take the photo
- Review and accept, or retake
Uploading Photos
- Click Upload on the photo element
- Select from your device's gallery
- Confirm the selection
Photo Tips
- Ensure adequate lighting
- Keep the camera steady
- Include context (show what you're inspecting)
- Capture any issues or damage clearly
- Include serial numbers or labels when relevant
Multiple Photos
If multiple photos are allowed:
- Add the first photo
- Click Add Another
- Repeat as needed
Capturing Signatures
For signature elements:
- Tap/click the signature area
- Sign with your finger (touch) or mouse
- Click Accept when satisfied
- Click Clear to try again
Signatures typically indicate:
- Inspector acknowledgment
- Verification of completion
- Compliance sign-off
Adding Notes
Element Notes
Add notes to specific elements:
- Complete the element
- Click the Notes icon
- Enter your comment
- Save
General Notes
Add overall inspection notes:
- Find the Notes section
- Enter general observations
- Notes are saved with the inspection
When to Add Notes
- Explain unusual findings
- Document observations not covered by elements
- Provide context for failures
- Record recommendations
Saving Progress
Auto-Save
Kuviq automatically saves your progress:
- Responses are saved as you enter them
- Safe to close and return later
- No data loss from interruptions
Manual Save
Click Save to ensure progress is saved:
- Use before taking a break
- Use before switching tasks
- Confirms all data is stored
Pausing an Inspection
To pause and continue later:
- Your progress saves automatically
- Close the inspection or navigate away
- Return to the item or inspection
- Click Continue Inspection
Paused inspections show as "In Progress" status.
Submitting the Inspection
Before Submitting
Review your inspection:
- All required fields completed
- Photos attached where needed
- Notes added for any issues
- Signature captured (if required)
Submitting
- Click Submit or Complete Inspection
- Confirm submission
- Inspection is recorded
After Submission
Once submitted:
- Results are immediately recorded
- Item status updates
- Notifications sent (if configured)
- Cannot edit the inspection
Inspection Results
After submission, you'll see:
- Pass - All pass conditions met
- Fail - One or more conditions failed
- Summary of responses
- Next steps if action is needed
See Inspection Results for details.
Handling Failed Elements
When elements fail:
- Complete the inspection honestly
- Document the failure with notes
- Take photos of issues
- Submit the inspection
- Follow up with corrective action
Accurate reporting is essential for safety and compliance. Report issues as found.
Mobile Inspections
Kuviq is optimized for mobile:
Mobile Features
- Large touch targets
- Camera integration
- Signature pad
- Offline capability
- GPS location (if enabled)
Mobile Tips
- Hold phone steady for photos
- Use landscape mode for signatures
- Ensure good lighting
- Work in areas with connectivity when possible
Offline Inspections
When you don't have internet:
- Start the inspection normally
- Complete all elements
- Submit when ready
- Inspection queues for sync
- Syncs automatically when online
See Offline Inspections for details.
Common Issues
Can't Start Inspection
- Check you have permission for this item
- Verify an inspection template is assigned
- Ensure no inspection is already in progress
Can't Submit
- Complete all required fields
- Check for validation errors (highlighted in red)
- Ensure you have network connectivity
Photo Won't Upload
- Check camera permissions
- Reduce photo size if too large
- Try uploading instead of taking photo
- Check network connectivity
Next Steps
- Inspection Results - Understanding outcomes
- Inspection History - Viewing past inspections
- Offline Inspections - Working without internet